
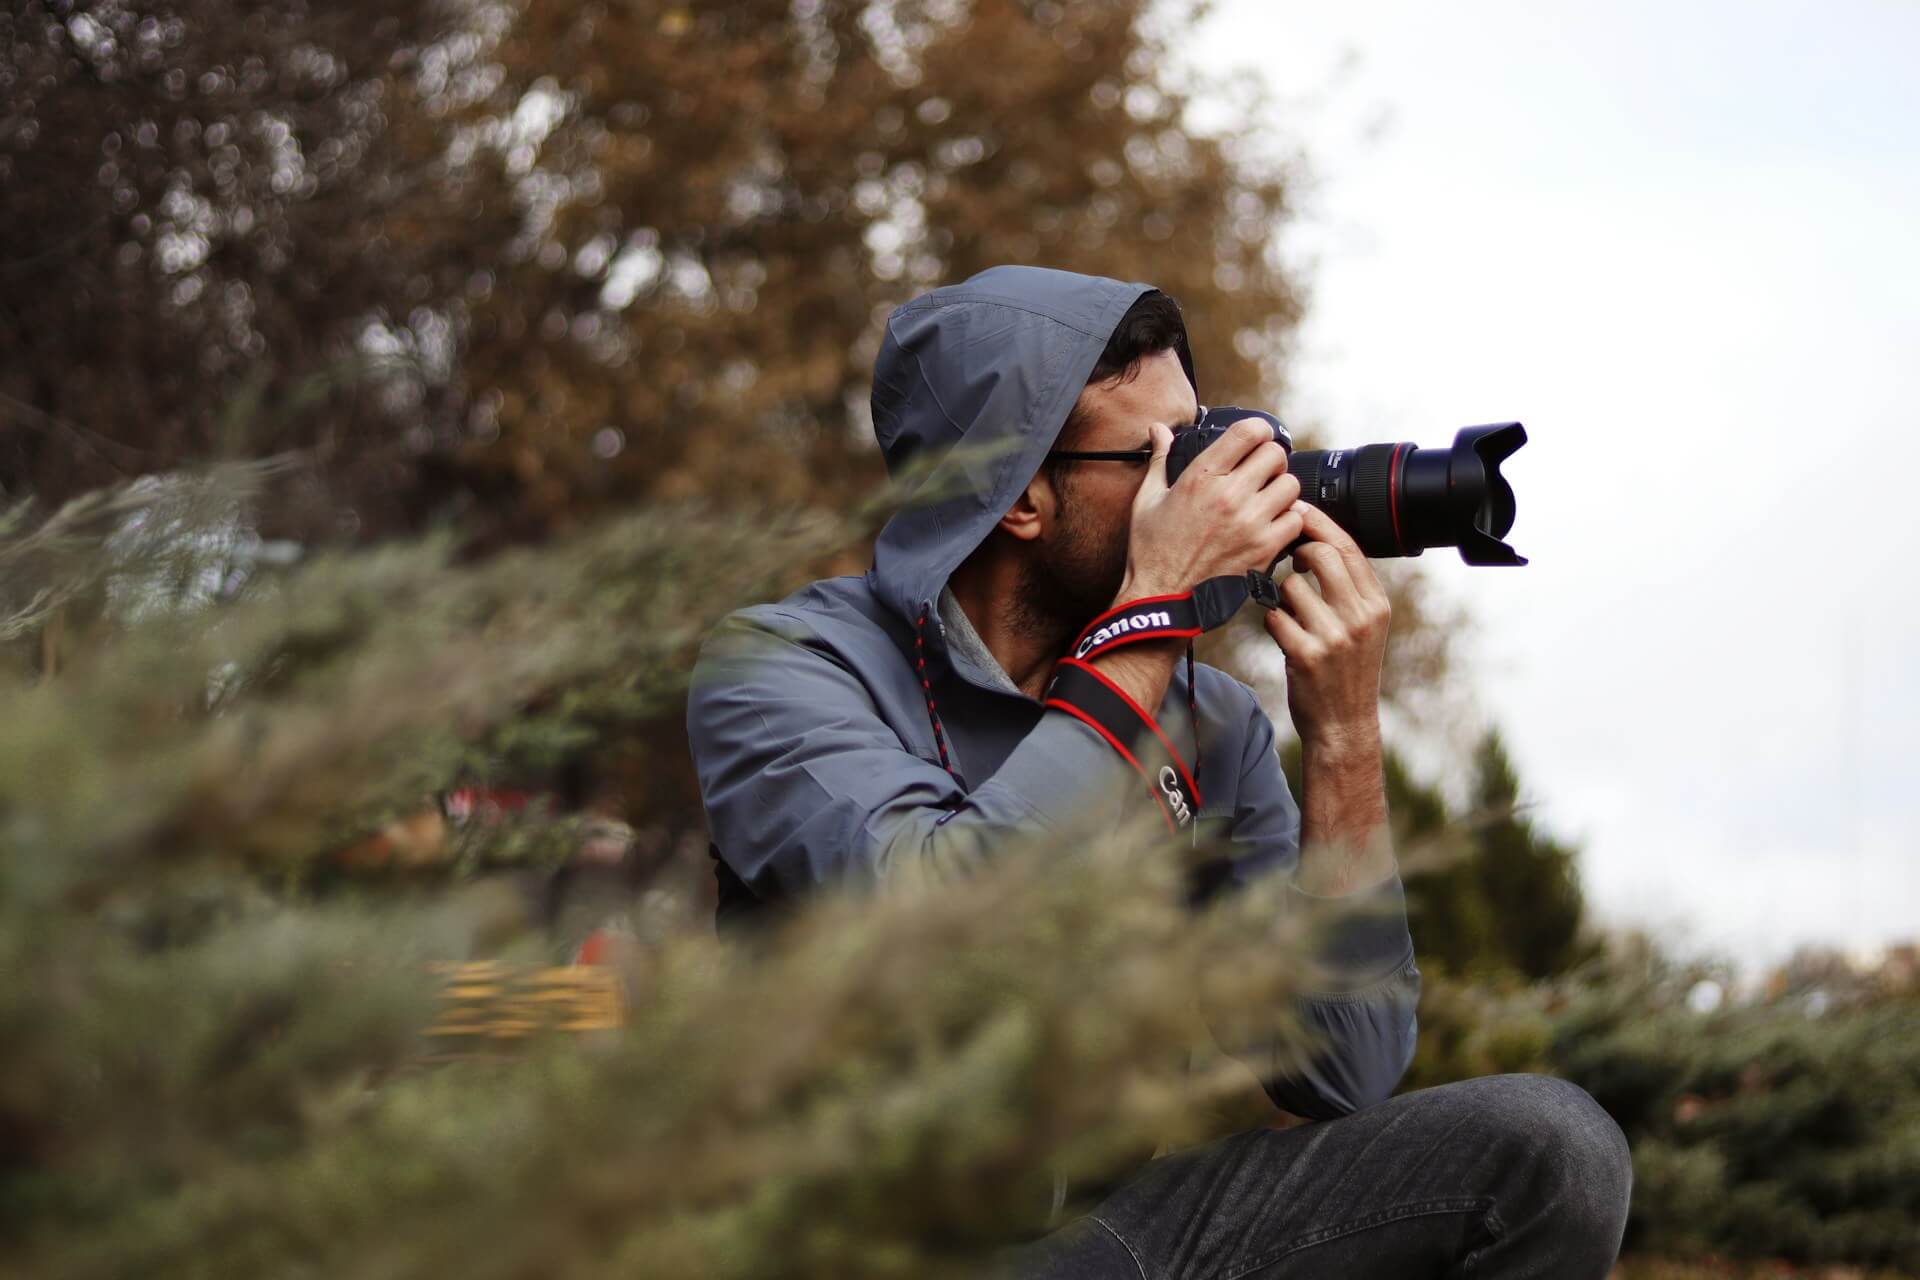
Photography is an exciting and creative hobby that allows you to capture the world around you. Whether you’re using a smartphone or a professional DSLR, understanding the essential photography tips for beginners can help you take better photos and improve your skills over time. In this article, we’ll go over fundamental photography tips and tricks that will guide you on your journey to becoming a better photographer.
1. Understand Your Camera
Before you start taking photos, it’s crucial to understand your camera and its settings. Whether you’re using a smartphone, a point-and-shoot, or a DSLR, getting familiar with the camera’s features will give you more control over your shots.
Key Settings to Learn:
- Shutter Speed: This controls how long the camera’s shutter stays open. A fast shutter speed freezes motion, while a slow shutter speed can create a blur effect.
- Aperture: The aperture controls the amount of light entering the camera. A wider aperture (smaller f-number) creates a blurry background (shallow depth of field), while a smaller aperture (higher f-number) keeps more of the scene in focus.
- ISO: ISO determines your camera’s sensitivity to light. A lower ISO (e.g., 100) is best for bright environments, while a higher ISO (e.g., 1600 or more) helps in low-light conditions.
- White Balance: This setting adjusts the color temperature of your photos to make them look more natural in different lighting conditions.
Getting to know your camera settings will allow you to have more control over your images and help you avoid automatic mode for better results.
2. Use the Rule of Thirds
One of the most important compositional techniques in photography is the Rule of Thirds. This rule involves dividing your image into nine equal parts by drawing two equally spaced horizontal lines and two vertical lines. Placing the subject of your photograph along these lines or at their intersections makes the composition more balanced and visually appealing.
How to Use the Rule of Thirds:
- Position subjects off-center: Avoid placing your subject directly in the middle of the frame. Instead, place it along one of the gridlines or at an intersection point.
- Use natural lines: Look for leading lines in your scene (like roads, rivers, or architectural elements) and position them along the gridlines to create a more dynamic composition.
While the Rule of Thirds is a helpful guide, don’t be afraid to experiment and break the rule when you feel the composition works better in another way.
3. Focus on Lighting
Lighting is one of the most critical aspects of photography. Natural light, especially during the golden hour (just after sunrise and just before sunset), creates beautiful, soft lighting that enhances your photos.
Tips for Managing Lighting:
- Golden Hour: The soft, warm light during early morning and late afternoon helps to reduce harsh shadows and creates a flattering effect on subjects.
- Avoid harsh midday sun: The bright midday sun can create unflattering shadows on people and objects. If you’re shooting in the afternoon, try to find shaded areas or use a diffuser to soften the light.
- Use backlighting: Experiment with positioning the light source behind your subject to create silhouettes or a glow effect.
Understanding how to use natural and artificial light will greatly enhance the quality of your photos.
4. Master Depth of Field
Depth of field refers to how much of your photo is in focus. A shallow depth of field keeps the subject sharp while blurring the background, while a deep depth of field ensures both the foreground and background are in focus. Learning how to control depth of field will help you highlight your subject and create a professional-looking image.
How to Control Depth of Field:
- Use a wide aperture (low f-number): This will give you a shallow depth of field, making the background blurred (great for portraits).
- Use a small aperture (high f-number): This increases depth of field, ensuring more of the scene is in focus (ideal for landscapes).
- Experiment with focal length: A longer lens (telephoto) often creates a shallower depth of field, while a wide-angle lens typically provides a deeper depth of field.
By mastering depth of field, you can create more dramatic, focused photos with stunning background effects.
5. Keep Your Camera Steady
Camera shake is a common problem in photography, especially in low light situations where slower shutter speeds are required. To avoid blurry photos, keeping your camera steady is crucial.
Tips for Keeping Your Camera Steady:
- Use a tripod: A tripod stabilizes your camera and allows you to capture sharper images, especially in low-light conditions or when using slow shutter speeds.
- Hold your camera properly: Keep your arms close to your body to minimize movement. If you don’t have a tripod, consider bracing against a wall or other sturdy objects.
- Use a faster shutter speed: If you’re shooting handheld, use a faster shutter speed (e.g., 1/500s) to reduce the likelihood of camera shake.
Using these techniques, you can ensure your images are sharp and free from motion blur.
6. Experiment with Composition
Composition is key to creating visually interesting photographs. Experiment with different angles, perspectives, and framing to add variety to your shots. Don’t just shoot from eye level—try different viewpoints to capture a unique perspective.
Composition Tips:
- Use leading lines: Incorporate natural lines in your environment (e.g., roads, rivers, or pathways) to draw the viewer’s eye toward the subject.
- Framing: Look for natural elements such as doorways or windows to frame your subject and add depth to the photo.
- Symmetry and patterns: Many subjects, from architecture to nature, offer symmetry and repeating patterns that can make for striking compositions.
Taking time to experiment with different compositions will make your photos stand out.
7. Shoot in RAW Format
When you shoot in RAW format, your camera captures more data and gives you greater flexibility in post-processing. RAW files preserve more details in highlights and shadows, allowing you to make more adjustments without sacrificing image quality.
Why Shoot in RAW:
- Better Editing Control: RAW files allow you to adjust exposure, white balance, contrast, and color without degrading the quality.
- Higher Image Quality: RAW files contain more data, which means your final images will retain more detail and clarity, even after adjustments.
- Non-Destructive: Unlike JPEG files, RAW files are not compressed, so the editing process doesn’t lose image quality.
While RAW files take up more storage space and require post-processing, they offer a significant advantage for those serious about improving their photography.
8. Understand the Importance of Focus
Sharp focus is crucial in photography, especially for close-up shots and portraits. Ensure that your subject is in focus and the background or surrounding elements are either intentionally blurred or sharp based on your creative vision.
Tips for Achieving Sharp Focus:
- Use autofocus: Most modern cameras have excellent autofocus systems, but if you’re shooting in a controlled setting, consider using manual focus for precision.
- Focus on the eyes: In portrait photography, the eyes should be the sharpest part of the image to create an engaging photograph.
- Use a tripod: For longer exposures, using a tripod ensures that your camera remains stable and your focus stays sharp.
Getting the focus right can make the difference between an amateur and a professional-looking photograph.
9. Learn Post-Processing Techniques
Post-processing is the final step in photography where you can enhance your images. Editing tools like Adobe Lightroom or Photoshop allow you to adjust exposure, colors, sharpness, and other elements to bring your photos to life.
Post-Processing Tips:
- Adjust Exposure: Correct overexposed or underexposed photos by adjusting the exposure slider.
- Enhance Colors: Use vibrancy and saturation controls to bring out the colors in your photos.
- Sharpen Images: Use sharpening tools to enhance details and make your photo pop.
While post-processing can’t fix everything, it helps to refine your photos and bring out their full potential.
10. Practice, Practice, Practice
The best way to improve your photography skills is through consistent practice. Don’t be discouraged if your early photos don’t turn out as expected—learn from your mistakes and keep experimenting. Over time, you’ll begin to understand how different settings and techniques affect your images, and your skills will improve.
Ways to Practice:
- Take photos daily: Practice taking pictures of different subjects in different lighting conditions.
- Try new techniques: Experiment with long exposures, portraits, or creative compositions.
- Join photography communities: Share your work with others to receive feedback and learn from other photographers.
The more you practice, the more your eye for photography will develop, and you’ll become more confident in your abilities.
Conclusion
Photography is an exciting journey that allows you to capture moments and express creativity through images. By mastering your camera, understanding light, practicing different compositions, and honing your technical skills, you’ll be well on your way to improving your photography. Remember, the key to becoming a great photographer is to practice regularly, keep experimenting, and never stop learning.