
Introduction Capturing perfect shots in low light can be one of the most challenging aspects of photography. Whether you’re shooting in dimly lit interiors, at night, or during a sunset, mastering low-light photography requires understanding how to adapt to the environment and make the best use of available light. In this article, we’ll provide tips and techniques to help you capture crisp, well-exposed, and aesthetically pleasing photos in low-light conditions.
1. Use a Wide Aperture (Low f-Stop)
One of the most important settings to adjust in low-light situations is the aperture. A wide aperture (low f-stop number) allows more light to reach the camera sensor, helping to brighten your images in dark conditions.
- Aperture settings: Try using an aperture of f/1.4 to f/2.8, depending on your lens. The wider the aperture, the more light your camera will gather, allowing you to shoot with faster shutter speeds.
- Depth of Field: A wide aperture also creates a shallow depth of field, which can help isolate your subject from the background, making it a great technique for portraits in low light.
2. Increase ISO Sensitivity
ISO controls the sensitivity of your camera’s sensor to light. Increasing the ISO allows you to shoot in darker conditions without compromising exposure.
- Ideal ISO range: Start with an ISO setting of 800 to 1600 and adjust based on the lighting. While increasing the ISO helps with brightness, be cautious of introducing noise (grain) into your photos. Higher-end cameras tend to handle higher ISO settings better than entry-level ones.
- Noise reduction: If you’re working with a high ISO setting and you notice noise in your images, post-processing software like Adobe Lightroom can help reduce it.
3. Slow Down Your Shutter Speed
To capture more light, you can lower your shutter speed, which will keep the camera’s sensor exposed for a longer time. However, using slower shutter speeds comes with the risk of motion blur, especially when shooting handheld.
- Use a tripod: To prevent camera shake, it’s essential to stabilize your camera. A tripod is the best solution for long exposure shots and capturing sharp images.
- Handheld shooting: If you’re shooting handheld, try to use the “1/focal length rule,” meaning your shutter speed should not fall below the reciprocal of your focal length (for example, at 50mm, use a minimum shutter speed of 1/50).
- Use stabilizing technology: If your lens or camera body features built-in image stabilization, this can also help reduce blur when shooting at slower shutter speeds.
4. Shoot in RAW
Shooting in RAW format rather than JPEG gives you more flexibility when editing photos. RAW files contain more data, including details in the shadows and highlights, which are especially helpful in low-light situations.
- Post-processing benefits: RAW files allow you to recover lost details in shadows, correct white balance, and adjust exposure more effectively than JPEGs.
- Preserve image quality: Shooting in RAW ensures you retain the highest image quality possible, which is vital when working with high ISO settings or slow shutter speeds that may introduce noise or exposure challenges.
5. Use a Prime Lens with a Fast Aperture
Prime lenses typically offer faster apertures (lower f-stop numbers) compared to zoom lenses, which makes them ideal for low-light situations.
- Fast lenses: Lenses with apertures like f/1.4, f/1.8, or f/2.8 allow you to gather more light, helping you capture better images in darker settings.
- Compact and lightweight: Prime lenses are usually smaller and lighter than zoom lenses, making them easier to handle in low-light situations when you’re on the move.
6. Use Manual Focus in Low Light
Autofocus can struggle in low light, especially when there’s little contrast in the scene. In these situations, switching to manual focus can help ensure your subject is sharp.
- Focus on high-contrast areas: If you’re struggling to achieve focus in low light, try to focus on areas of the scene with the highest contrast, such as edges or bright light sources, to make manual focusing easier.
- Focus peaking: If your camera has a focus peaking feature, it will highlight in-focus areas in the viewfinder or on the LCD screen, making manual focus easier.
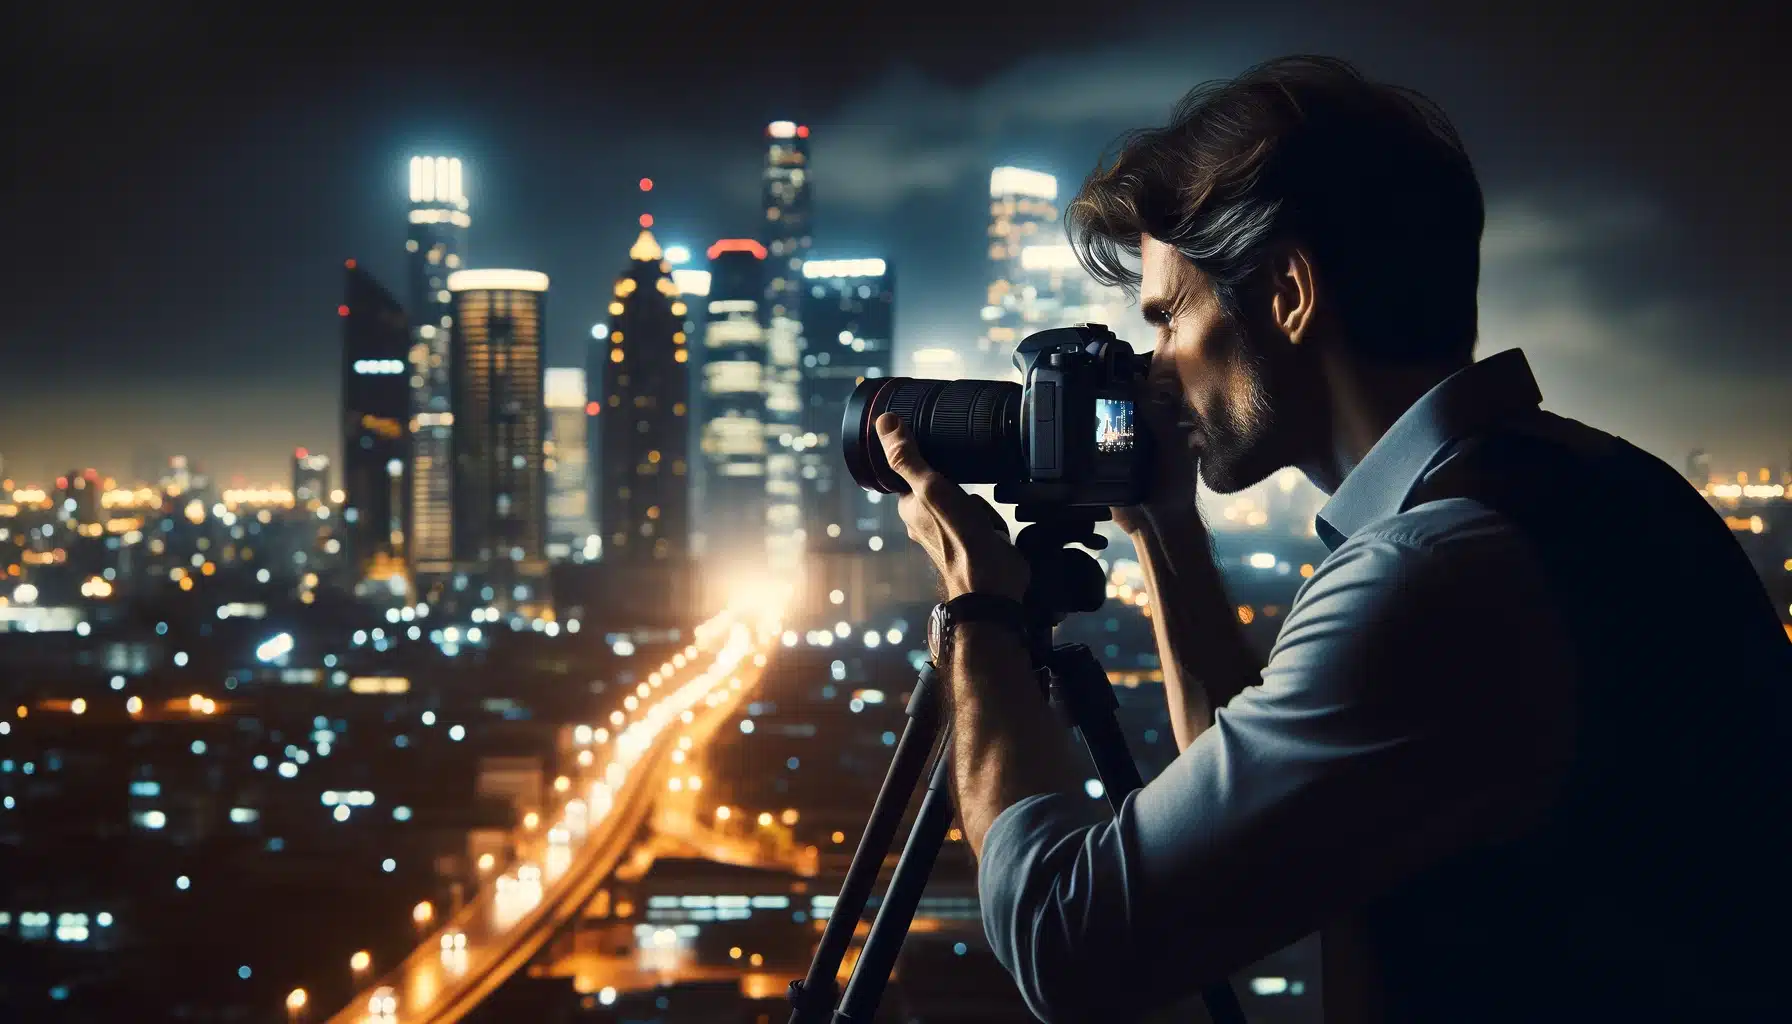
7. Take Advantage of Long Exposure Techniques
Long exposure photography is a popular technique for low-light conditions, such as nighttime cityscapes or astrophotography. By using a long exposure, you can capture more light and create stunning effects like light trails and smooth water surfaces.
- Use a tripod: A tripod is essential for long exposure shots to avoid camera shake and achieve sharp, clean images.
- Use a remote shutter release or timer: To eliminate any camera shake caused by pressing the shutter button, use a remote shutter release or set a timer on your camera.
- Long exposure settings: Start with a shutter speed of 10-30 seconds and adjust based on the amount of ambient light and desired effect.
8. Use Light Sources Creatively
In low-light environments, using available light sources creatively can help you add mood and interest to your photos.
- Street lights, candles, or neon signs: These can be incorporated as primary light sources to create a dramatic effect in your shots.
- Reflect light: If you’re shooting portraits, you can use a reflector or even a white sheet to bounce light from ambient sources back onto your subject.
9. Post-Processing to Enhance Low-Light Shots
Even with the best camera settings, some low-light shots may need a little help in post-processing to bring out the best in them.
- Adjust exposure and contrast: Use editing software like Lightroom or Photoshop to brighten your photos and adjust contrast.
- Noise reduction: If your photo has visible noise due to high ISO, use noise reduction tools to smooth out the image while preserving detail.
Conclusion Low-light photography can be challenging, but with the right techniques and equipment, you can capture stunning images even in difficult lighting conditions. By mastering aperture, ISO, shutter speed, and using the right lenses, you can improve your ability to shoot in the dark. Additionally, incorporating long exposures, manual focus, and creative lighting can help elevate your photos. Don’t forget the power of post-processing to enhance your shots further. With practice, you’ll be able to confidently capture perfect low-light photos every time.